 Skip to content
Windows 11
How to Boot Windows 11 from a USB Drive Easy Steps
How to Boot Windows 11 from a USB Drive
Booting from a USB drive on Windows 11 is essential for IT professionals and advanced users. It can install a new operating system, run diagnostics, or perform system recovery. This is a relatively straightforward process, although Windows 11 provides multiple ways to accomplish this process, depending on users’ needs and system configurations.
If you need to know how to boot from a USB in Windows 11, this guide details step-by-step instructions and troubleshooting tips.
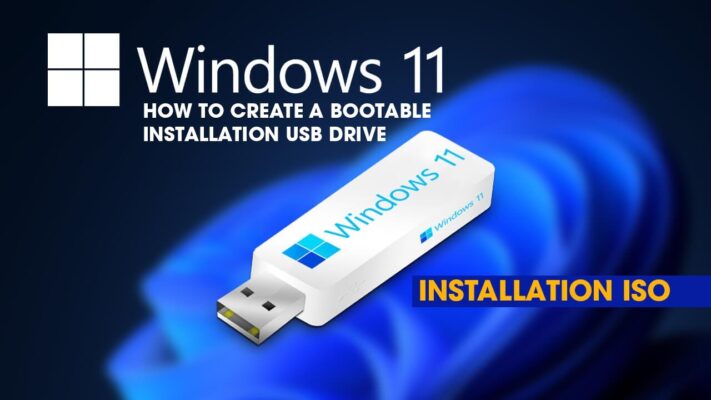
How to create a bootable USB drive for Windows 11
Before you can get started, you need a bootable USB drive if you don’t have one ready. You’ll need the following:
- A USB flash drive, 8 GB or larger.
- You can download a Windows 11 ISO file and the Media Creation Tool from Microsoft’s official website.
- A Windows PC with admin access.
Once you have all these ready:
- Download the Media Creation Tool for Windows 11.
- After downloading, run the tool.
- Select “Create installation media for another PC.”
- Choose your preferred language, Windows edition, and architecture (64-bit).
- Next, pick USB flash drive as the media to use, and select your USB from the list.
- Lastly, the tool will download Windows 11 and make it bootable.
Methods to boot from a USB drive on Windows 11
There are several ways to boot from a USB drive on Windows 11, like Advanced Startup (WinRE) and the Boot Menu Key. You can also boot it quite differently using a Microsoft Surface device.
Method 1: Booting from Advanced Startup (WinRE)
Using the Advanced Startup WinRE is best for systems that function normally and where the Windows desktop is accessible.
- Insert the bootable USB drive into any available USB port on your computer.
- Click the Start button and go to Settings.
- Head to System > Recovery.
- In the Recovery options, look for the Advanced startup section and select Restart now. You might see a prompt saying Windows will restart to change startup settings. Proceed by clicking Restart.
- After the PC starts, you will encounter a blue screen. Look and select Use a device to proceed.
- From there, you will see a list of available devices to boot. Select the name of your USB drive. Note that it may have a generic name like the drive brand or “EFI USB Device.”
- After this, your PC will reboot and begin booting directly from the USB device.
Method 2: Using the Boot Menu Key
This method is best when the system is off, unresponsive, or unable to boot into Windows normally.
- Insert the bootable USB drive into a USB port on the computer.
- Turn on the PC, and immediately press the boot menu key repeatedly until the boot menu appears. If it doesn’t appear, try restarting and pressing it earlier during the setup, right after the manufacturer’s logo appears.
- The key varies depending on your device’s manufacturer, although the most common are:
- F12
- F10
- ESC
- Del
- Once the boot menu appears, use the arrow keys to select the USB drive from the list of bootable devices. It could appear with its brand name or “EFI USB Device.”
- Press Enter to confirm the selection.
- After this, your PC will boot from the USB device and load the operating system or tool on it.
Method 3: Booting Microsoft Surface devices from a USB
Microsoft Surface devices utilize a unique boot sequence that requires you to press physical buttons to start a USB boot.
- First, shut down the device. You can force a shutdown by holding the power button for 10 seconds.
- Insert the bootable USB into the Surface device.
- Press and hold the volume-down button on the side. Then press and release the power button.
- Hold the volume-down button until the Microsoft Surface logo appears on the screen. Afterward, release it.
- The device will now boot directly from the USB drive.
Troubleshooting USB boot issues in Windows 11
Even if you follow the steps correctly, errors could occur when booting from a USB drive in Windows 11 because of configuration issues and hardware limitations. Here are some of the most common stumbling blocks and ways to resolve them:
The USB drive cannot be detected
Sometimes, the USB drive does not appear as a boot option. When this happens, try either of the following:
- Ensure the drive is formatted correctly (FAT32 or NTFS) and contains a bootable ISO image created with the Media Creation Tool.
- Insert the USB directly into a different port. Avoid using USB hubs and adapters during this process.
The boot menu isn’t appearing
If pressing the boot menu isn’t bringing up any of the boot options, you can do either of the following:
- See to it you’re pressing the right boot key for your device.
- If the key doesn’t work, you can enter the BIOS/UEFI firmware and configure the USB drive as the first boot device. Here’s how:
- Restart the PC and press the BIOS key upon startup (F2, Del, or Esc).
- Navigate to the Boot tab.
- Move the USB drive to the top of the boot priority list. Save and exit.
Secure boot issues
If your system shows an error or ignores the USB drive, Secure Boot might be blocking it. To fix this, you can disable Secure Boot. However, be cautious when disabling it and only do so if the USB contains a trusted operating system or tool.
- Restart the computer and enter the BIOS/UEFI settings (F2, Del, or Esc).
- Next, go to the Security, Boot, or Authentication tab. How it is called varies by system.
- Locate the Secure Boot option, and set it to disabled.
- Save the changes and exit BIOS.
After this, booting from the USB should work.
Be sure to re-enable Secure Boot after performing your tasks to maintain system security.
Booting from a USB drive on Windows 11 made easy
Booting from a USB drive on Windows 11 is a great way to perform installs, troubleshoot issues, and run system diagnostics without downloading and utilizing additional tools. You can use several methods, such as Advanced Startup, the Boot Menu Key, and, for Microsoft Surface devices, a combination of physical buttons. Whether you’re an IT administrator or a power user, this offers an excellent way to manage the system you maintain.